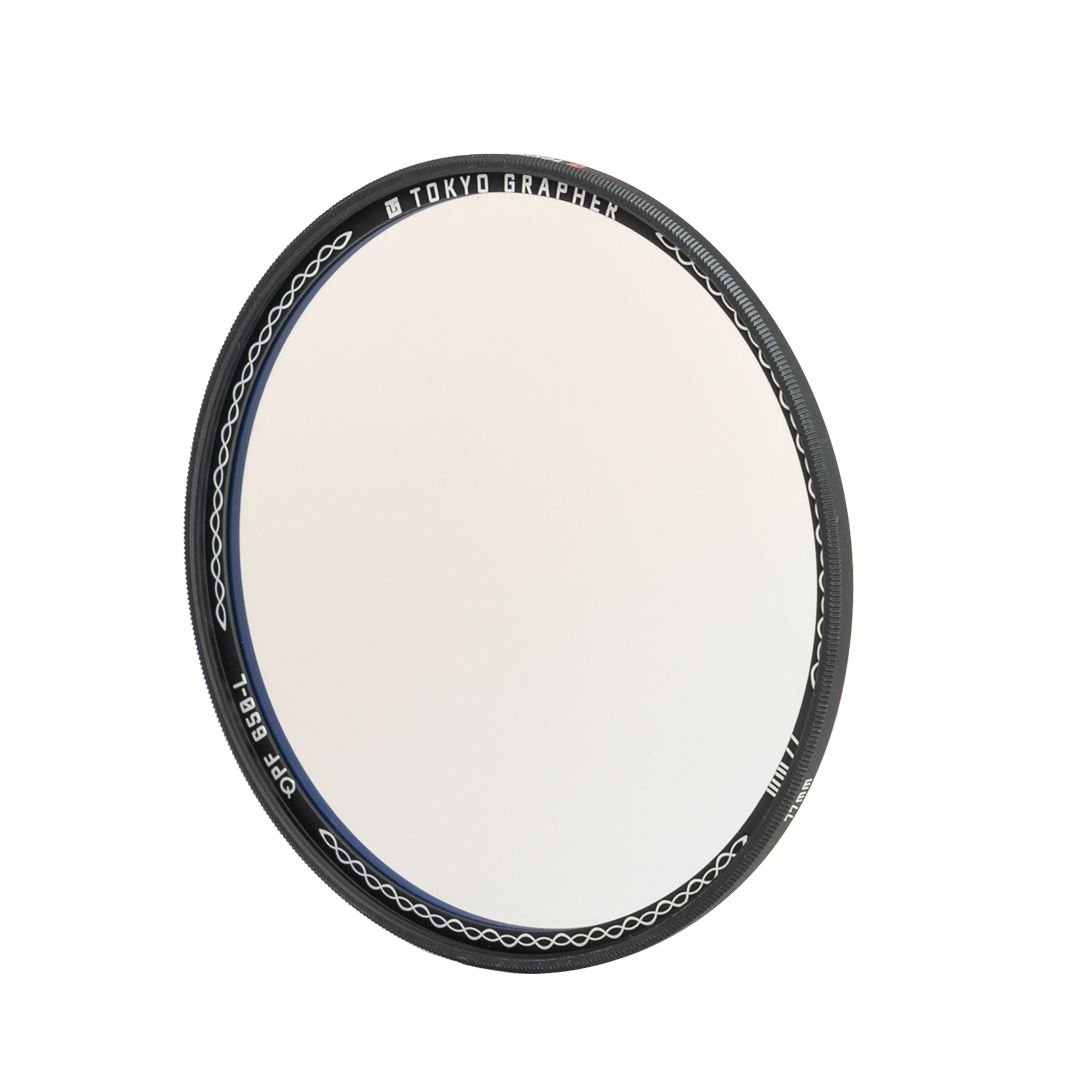
As a standard for evaluating lenses, ghosting should not appear as a waste, but many people who love old lenses like flares and ghosts that appear in OPF, I hope you are enjoying the features of each.
As one of the features of OPF, you can enjoy expressions that take advantage of such flares and ghosts simply by attaching a filter to the latest autofocus lens.
This time, there are differences in ghosting between the OPF 480-L, 550-L, and 650-L, and depending on the shooting scene, there may be times when you don't want ghosting to occur. We will show you how to use flares effectively.
What are ghosts and flares that can be expressed with OPF?

This photo was taken at an angle where the sunlight enters the lens on purpose to create ghost flares, so there are very noticeable ghosts (orange round lights) and rainbow-like flares.
Regarding the part where the whole is white around the sun, the light is diffused by the effect of the special glass used in OPF rather than the flare, and this kind of expression can be achieved.
Also, the OPF 480-L, 550-L, and 650-L filters have different ghost colors, so please see the four photos below.
-

Filter not installed -

OPF 480-L
-

OPF 550-L -

OPF 650-L
As you can see in the photo above, the OPF 480-L is orange, the OPF 550-L is slightly purplish white, and the OPF 650-L can produce a blue ghost, and the flare color is also slightly different.
In this sample photo, ghosts and flares are generated close to the maximum value, but it is possible to adjust the intensity of ghosts and flares by changing the subtle angle, and there is also a way to suppress ghosts and flares without changing the angle of view. Thank you.
Controlling Ghosts and Flares with Aperture

In the above photo, the aperture value is F1.4 on the left and F4.0 on the right, but ghosts and flares can be suppressed in this way.
In addition, this photo was taken without the lens hood in order to emphasize ghosts and flares, but you can also reduce them by attaching the lens hood. I hope you find it.
After this, I will post sample photos taken with different ghosts, flares, and light diffusion, and a simple explanation of how to take them.
Technique 1: "Put the ghost in front to emphasize the light"

In this photo, which is centered on the lantern in the camp, the diffused light is expressed at first glance, but you may not be able to find a ghost, but in reality there is a faint feature of the OPF 480-L in the center. There is an orange ghost coming out.
As a result, you can see that the border orange circles are a little sharper than the light diffusion. It is also possible to adjust the position of the ghost by adjusting the direction of the lens (incidence angle of the light) to the light source.
I think it's easy to understand if you compare it with a photo without a filter attached, but you can emphasize the light part and express a more impressive photo.
Technique 2: Create an impressive light by putting ghosts and flares diagonally

In this photo looking up in the trees, using the OPF 550-L, which tends to produce ghosts that are close to white, I added a ghost in the lower right part while taking advantage of the light diffusion, and a faint flare in the upper left. ____ is inside.
If you compare this with the photo without the filter attached, you can see that the sunlight filtering through the trees is very impressive.

Takahiro Taguchi
Instagram: @tak-tag
TOKYO GRAPHER Brand Manager
As well as serving as the brand manager of TOKYO GRAPHER, he is also active as a photographer, taking advertising photos in Japan and overseas.

OPF 480-L
¥6,800 ~ ¥12,600 (excluding tax)
A lens filter that controls the wavelength of light and emphasizes the area around 480 nanometers to express the softness of light.
Click here for details


